Send a message.
We’re here to answer any question you may have.
careers
Would you like to join our growing team?
careers@hub.com
Feedbacks
Have a project in mind? Send a message.
info@hub.com
Error: Contact form not found.
We’re here to answer any question you may have.
Would you like to join our growing team?
careers@hub.com
Have a project in mind? Send a message.
info@hub.com
Error: Contact form not found.
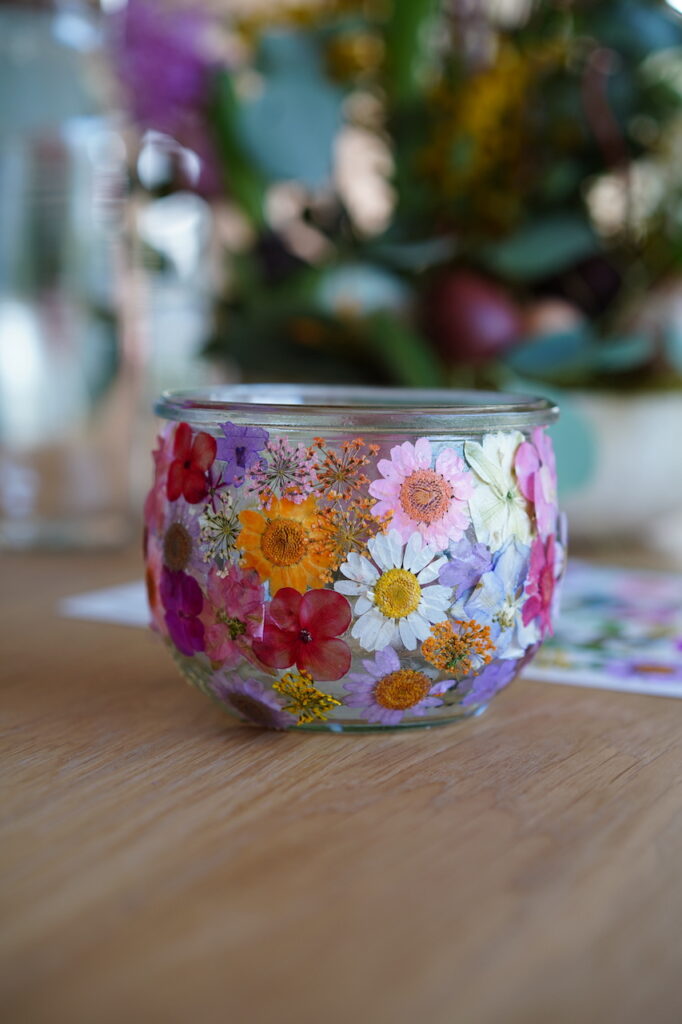
With this DIY flower wind light you can kill two birds with one stone, because not only are your children busy and can let off steam creatively, but you also have beautiful spring and summer decorations.
And this is how it works:
Step 1: We start with the glass. Just see what you have at home. Old olive or cucumber jars, for example, are also suitable for this purpose. First clean the glass. You could also boil it. Then allow to dry well.
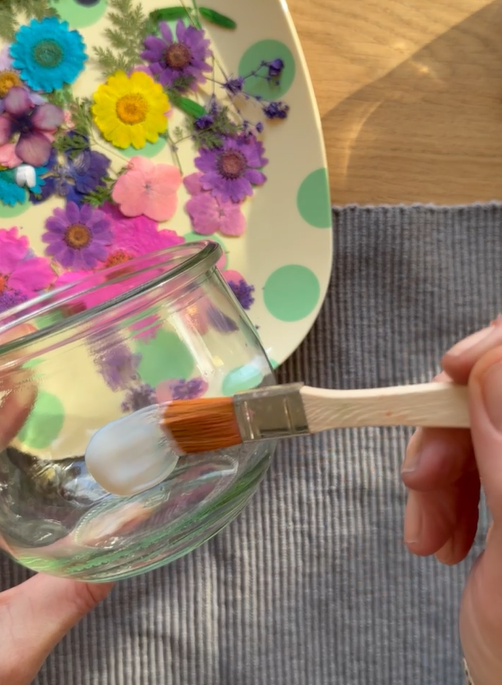
Step 2: Spread some Art Potch glue on the glass. You can get this from Amazon, for example. Don’t worry, the glue becomes transparent as soon as it is dry.
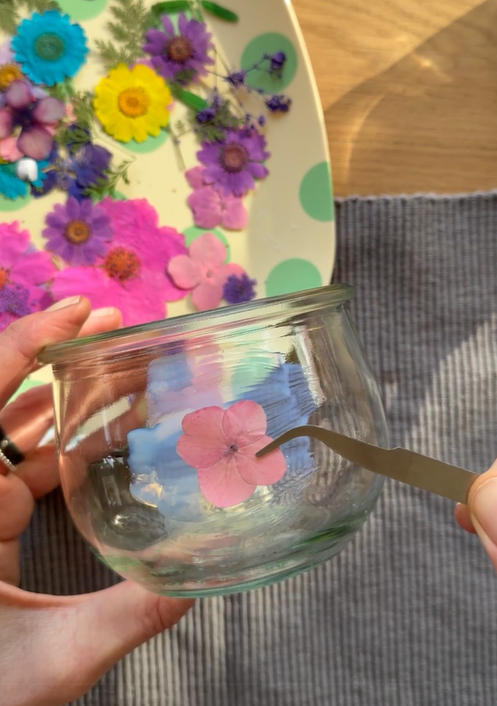
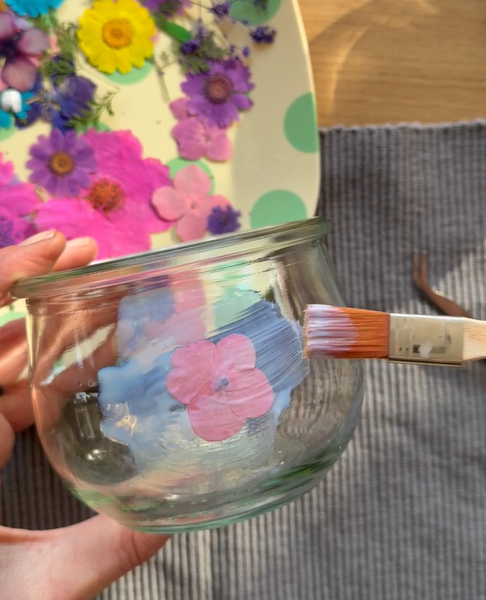
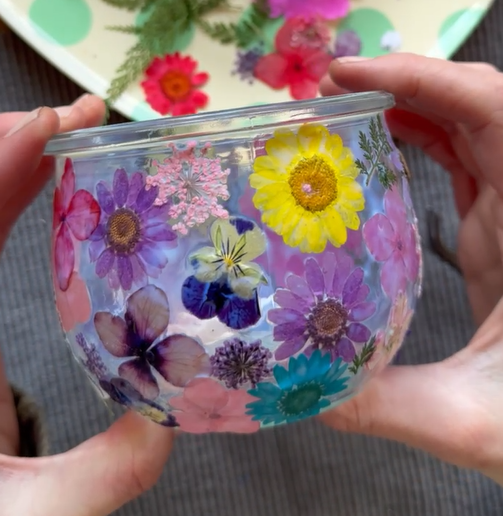
Step 3: Then carefully place the flowers on the glass as desired. You can collect flowers and dry them or press them in a flower press. Alternatively, you can also buy dried flowers.
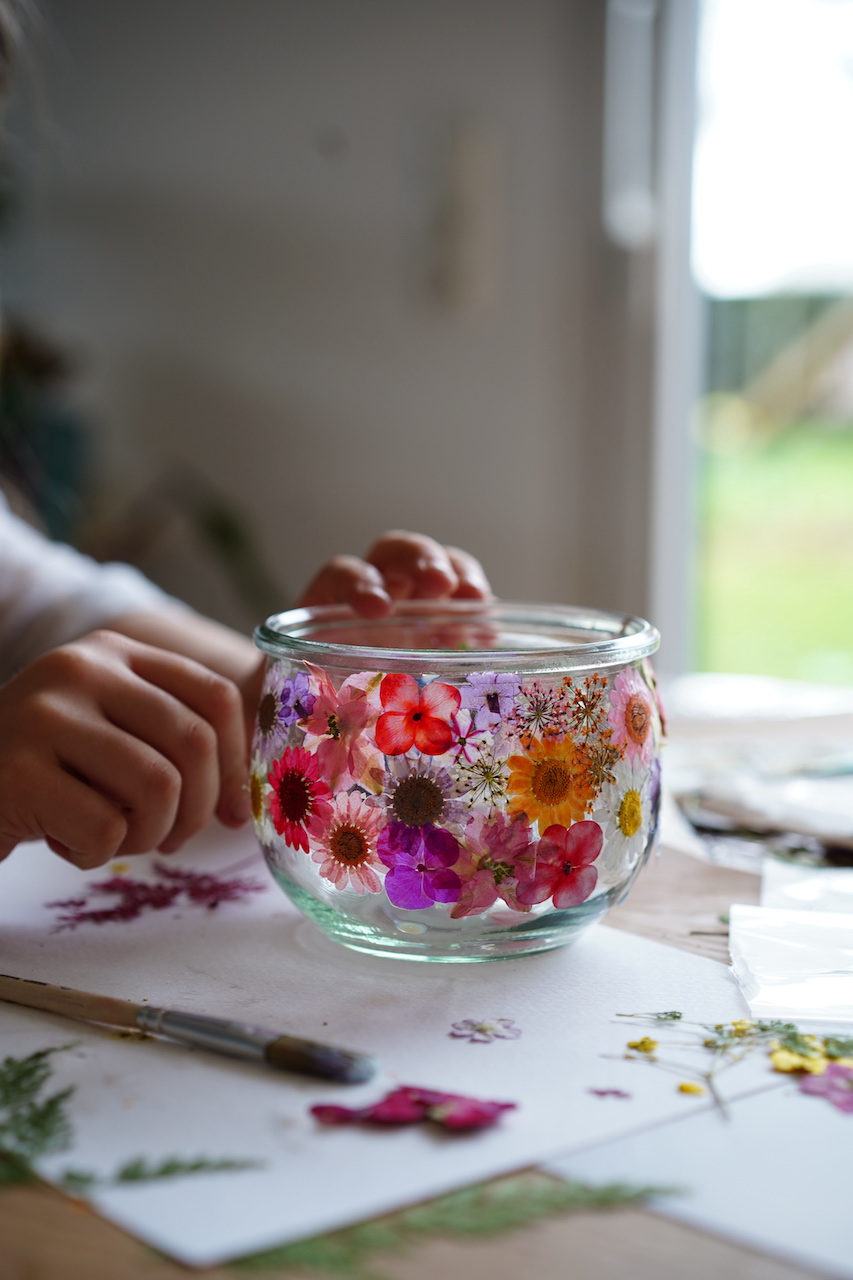
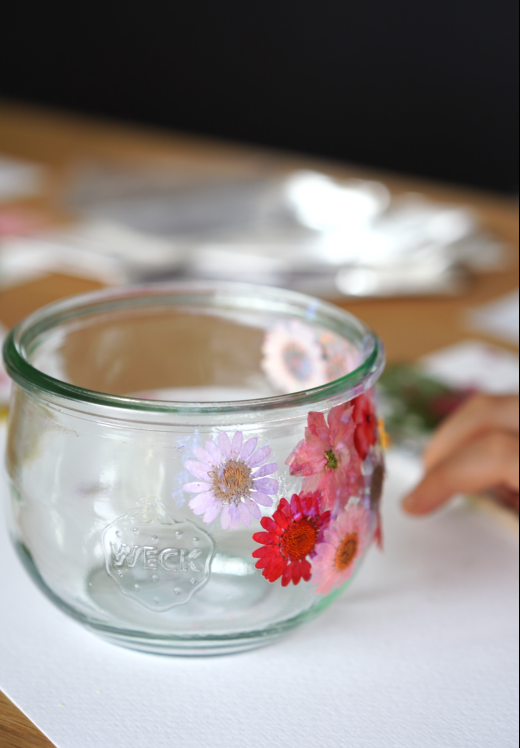
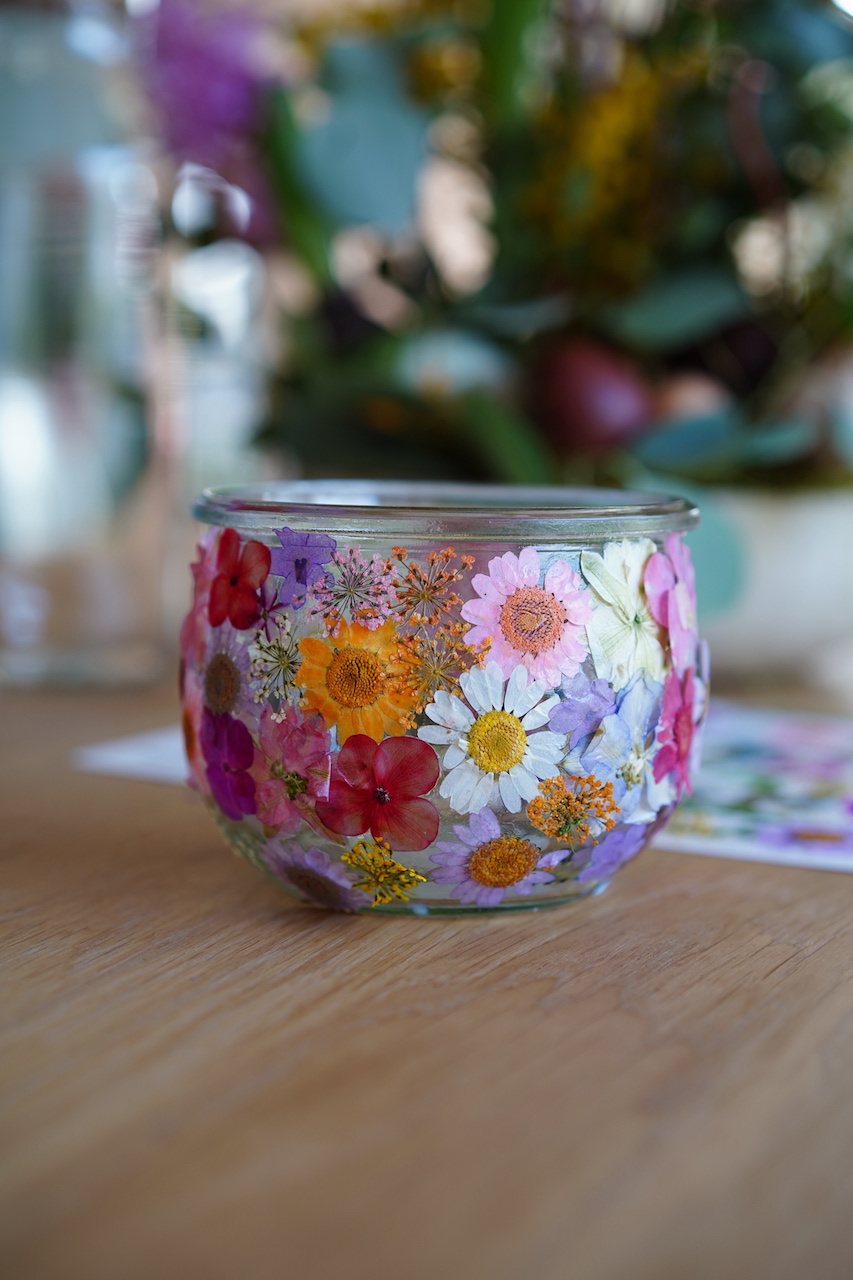

Step 4: Then apply some glue to the flowers to seal them.
Step 5: Leave to dry and your children’s artwork and your new decorative element are ready!


Adding {{itemName}} to cart
Added {{itemName}} to cart
